

Yesterday, I had a lunch/ craft date with Whitney, and it was our first hangout in 4 years (you know how life goes).
We both went to a small, private school (Brentwood Academy) from 7th-12th grade, but never hung out outside of art class. After high school, we found ourselves going to Baylor University in Waco, TX Freshmen year. I went potluck for a roommate (scary but exciting!). Lo and behold...my random roommate was Whitney...one of the few Tennesseans at Baylor, and even crazier, a BA alumnus.
I am so thankful I became roommates with her for numerous reasons, such as (but not limited to):
1) I had a fellow Tennessean to battle against the culture shock of "everything's bigger in Texas."
2) She's a top-notch human being
A funny thing about Whitney, she has an ENDLESS bag of tricks, meaning she's incredibly talented. Perfection like this could be annoying, but she's so great that you can't let jealously or insecurities get it the way of adoring her. So, one of her tricks is creativity. On her blog, she had a head-band making how-to. So, I asked if our lunch date could also turn into a headband-crafting bonanza. Here are the photos and steps (verbatim) from her website. {Visit her website! It's great}
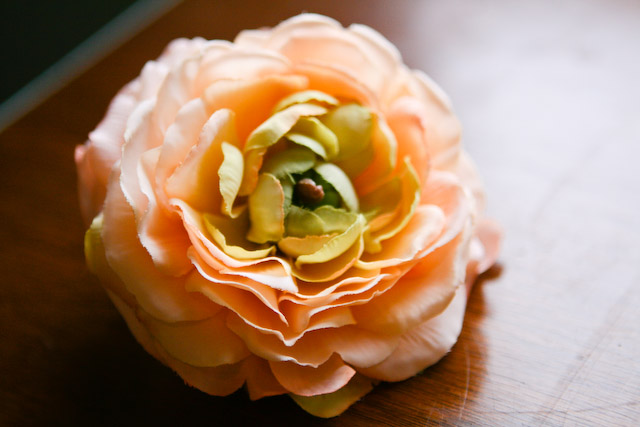
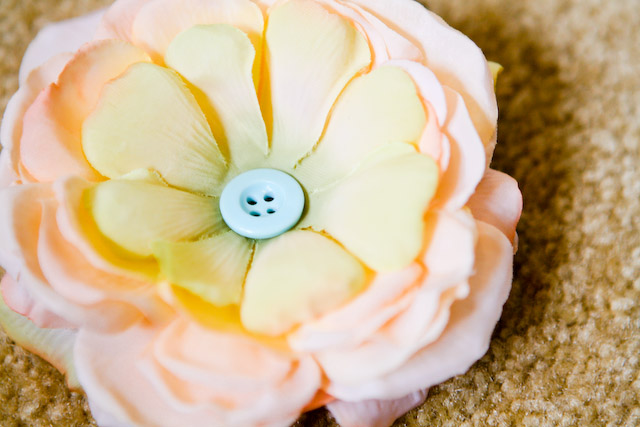
1)It all starts with an artificial flower. I got this one for a dollar at Hobby Lobby. Pluck that flower off of its stem so you just have a bud. Flatter flowers with lots of layers work the best.
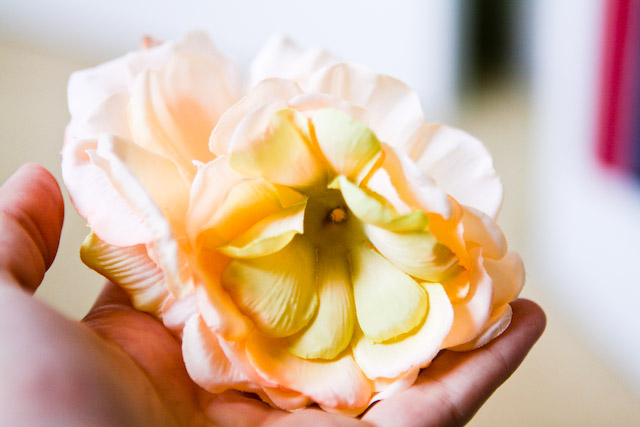
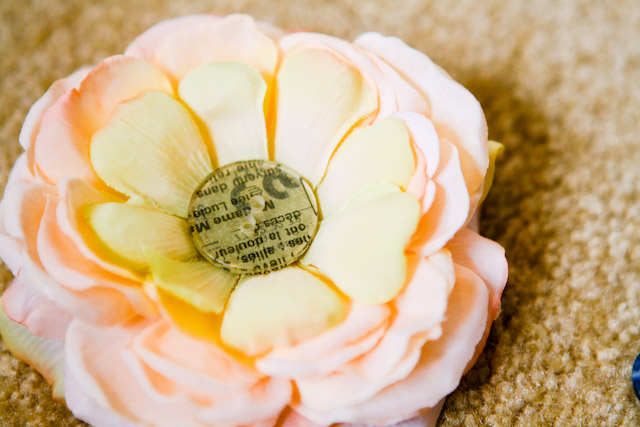
2) Next, pull the hard center of the flower out and pull the petals apart so your flower looks like this:
3)You want the loose petals on top of one another. (Be careful not to pull them completely apart so you forget what order they go in.)
In between the petals you'll find these little plastic pieces:
4) Go ahead and pull those out and throw them away. You'll lose some of the shape of your flower, but that's the point. You want the flower to lay flatter on your head instead of staying in a more round shape.
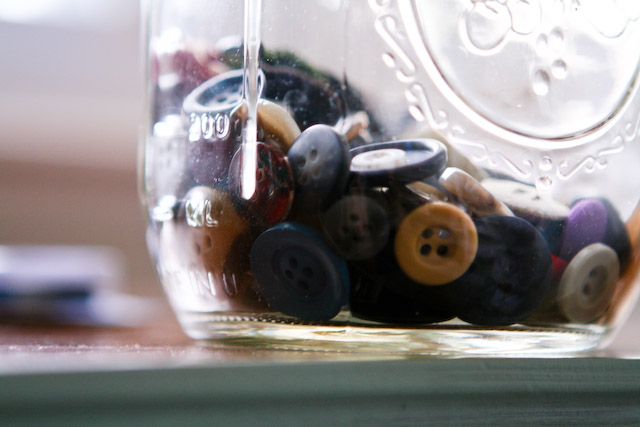
5) Next, find some buttons.
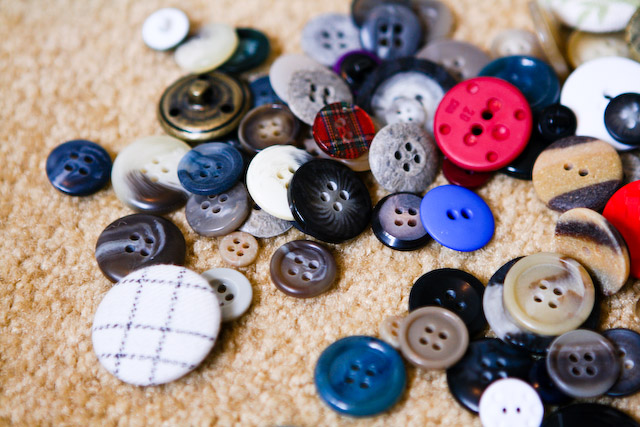
You don't have to add a button to the center, but I think it makes it a little more unique. You could also use beads for this part.
You can lay different buttons on top of your flower to see which one might look best.
6) Once you find one you like, hand sew the button onto the flower.
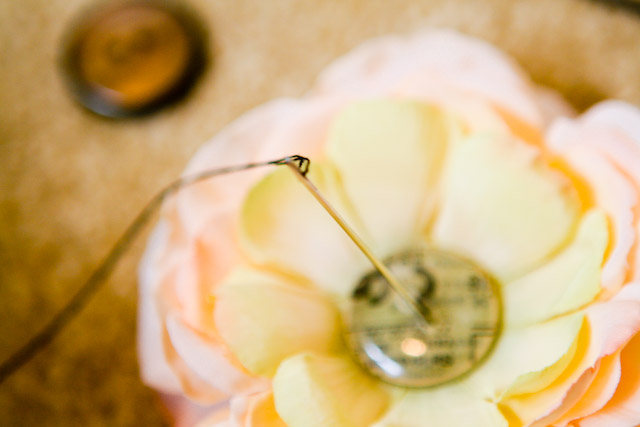
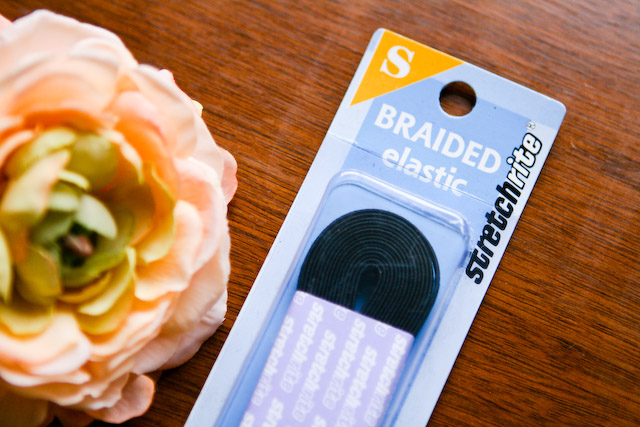
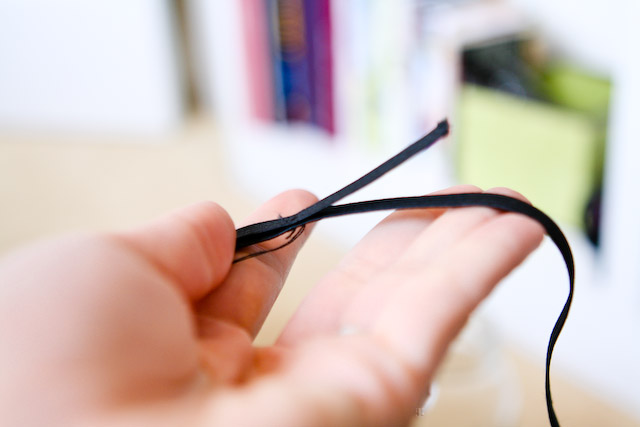
7) In the mean time, grab some elastic. This one is pretty thin: I found it in my grandmother's sewing box. You could also use a hard headband that you already have - up to you.
It's hard to tell in this picture, but I just wrapped the elastic around my head, cut it to fit, then sewed the ends on top of each other with a needle and thread to create a loop.
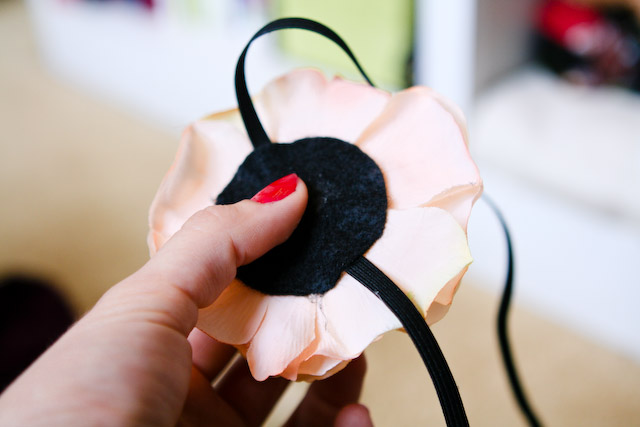
8) The last thing you need is some felt or other fabric. Cut a small circle of it.
9) Then hot glue it to the back of your flower with your elastic in between. Use plenty of glue to secure it in there.
And you have a finished project! So, here is mine after our day together:


Two miracles occurred with this dress:
1) It fit me. My mom wore this for her anniversary 14 years ago, and she was much more petite than me in every way. Perhaps it's Sisterhood of the Traveling Pants phenomenon.
2) The second miracle is that I am actually wearing this loud-mouth orange. I've always detested this dreamsicle or UT Vols orange, yet here I am...eating my words.
**Another fun fact is the gold necklace. My father went to Israel when he was in highschool. He and my mom were dating and he brought back this necklace as a gift.
(outfit details: Jacket-Anthropologie; dress-my mom's; jewelry-mom's; shoes-Urban Outfitters circa 2007).
Other fun things about the day:
1) I tried a chocolate-chipotle latte. Surprisingly delicious.
2) Also had a delicious cocktail called "Juliet and Romeo" at The Patterson House which is a bar modeled after a Speakeasy! The drink mixes in rose water, cucumber and mint. Yum Yum.
Here, here. 2 cheers for those drinks!


that's such a simple idea but looks so professional! you could set up a little business selling there.
ReplyDeleteoutfit looks great, orange isnt a colour i would ever go for but it does suit you. nice story abot the neckless, better than crap from a new store
jolis comme ces headbands
ReplyDeletebisou
You are amazing!!!!
ReplyDeletetheatticfind.blogspot.com
Love this!! I would pay you to make me one! xoxo
ReplyDelete